New Game
Creating A SpriteKit project in Xcode
Apparently the Game option in Xcode is out of date so, to create a new game project you should create a Swift/SwiftUI project as described below.
Xcode does have autocomplete so use it to make entering code easier.
- Start Xcode
- Select
Create a new Xcode project - Select
Appand pressNext - Enter a name for your game in
Product Name - Select your Apple Account for
Team - Enter an
Organisation Identifier- This would be your company name, I’m using YSJ - For
InterfaceselectSwiftUI - For
LanguageselectSwift - Click
Next - Select the folder you want to create the project folder in. Ensure
Source Control: Create Git repository on my Macis ticked - Click
Create
This should take you in to a new game project in Xcode. It will look something like the image below.
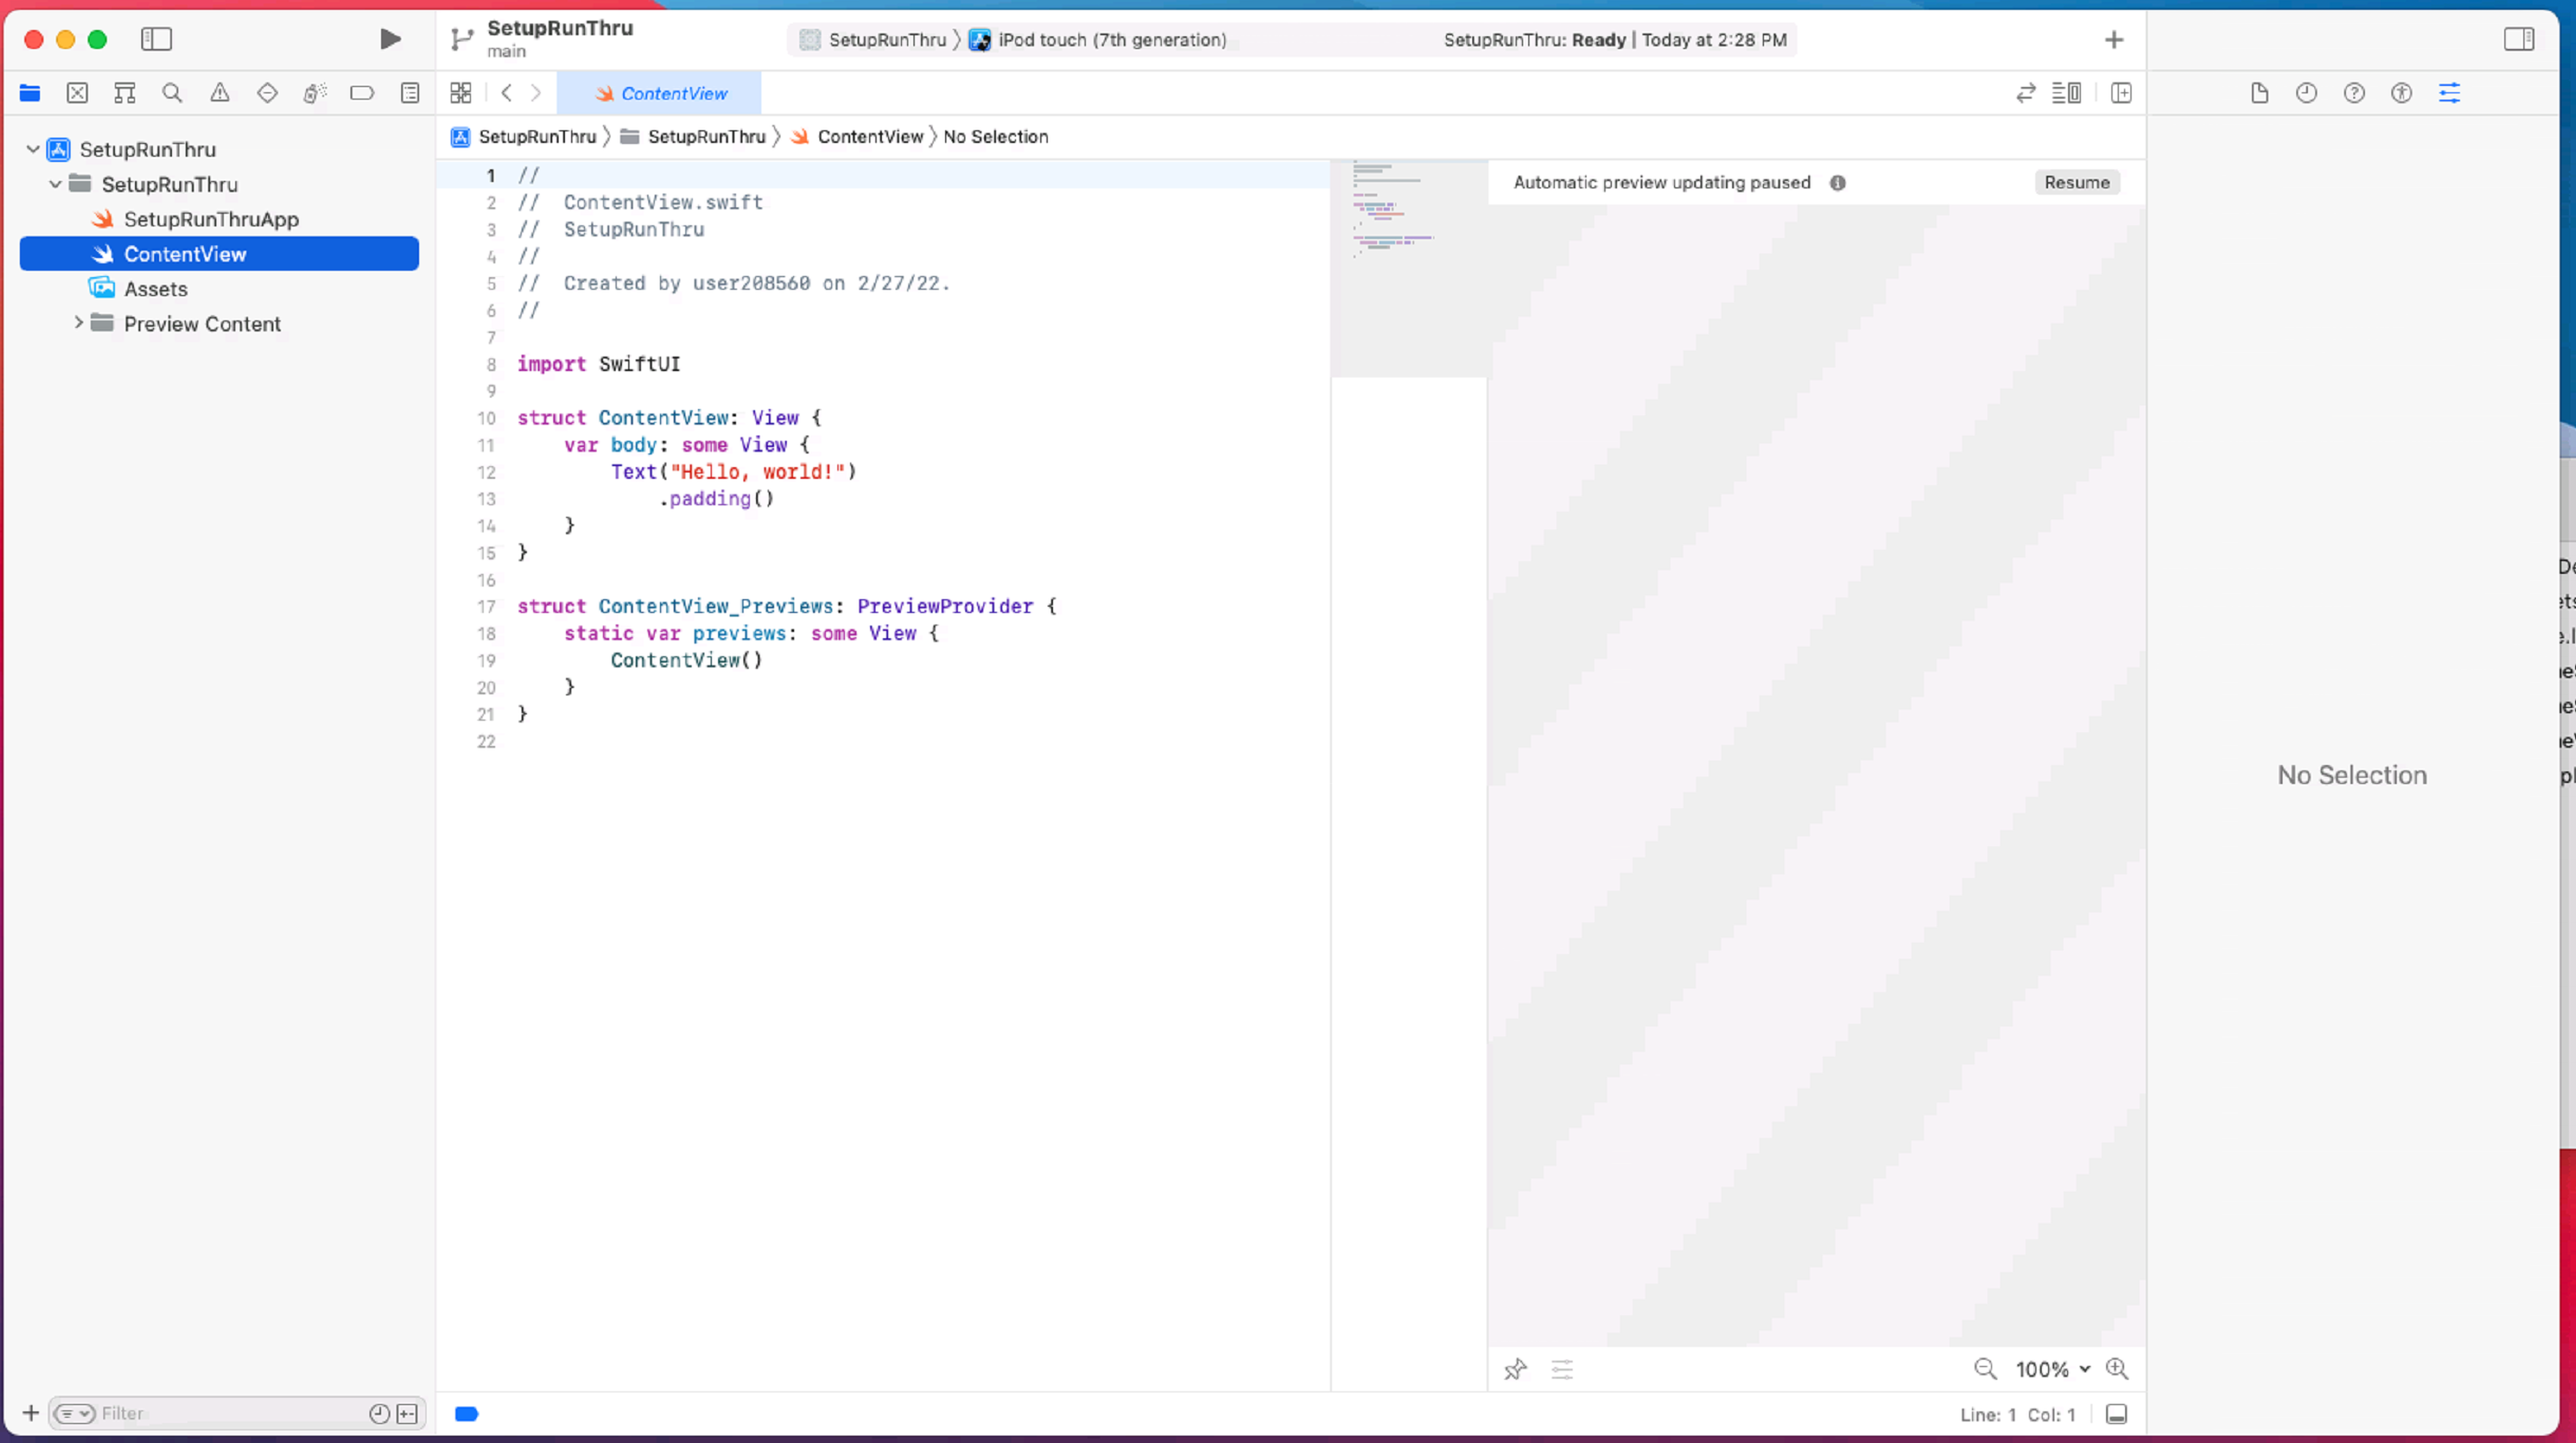
The left hand side of this window is the browser, it defaults to the files in the project.
The right hand side shows details about the currently selected file.
The central area shows the content of the file on the left and a preview on the right. The preview will start paused.
Enabling SpriteKit
To enable SpriteKit for this project
- click on the top level of the project in the explorer on the left.
- Scroll down the central window till you find
Frameworks, Libraries, and Embedded Content - Click the
+symbol just below - Select
SpriteKit.framework(it is easier to find if you search for it) and clickAdd
The SpriteKit framework libraries have now been added to your project.
Project Components (at this point)
ProjNameApp simply starts the application by launching ContentView(). If you want to run a different class or method, you would need to change it here.
ContentView is the default “body” of your app. Think of it as being like main() in a Java app.
Assets is the folder you will store any sprites, images, sounds, music, etc. in. You can simply drag and drop files in to this folder.
Setting Up The Game
Open ContentView and import SpriteKit by adding import SpriteKit after import SwiftUI. Next create your Game Scene by adding the code below after the imports
class GameScene: SKScene {

}
Your game may end up with many scenes. Each scene handles the functionality for a screen. It will handle creating the screen, updating it, processing input and any other code you add.
Change struct ContentView: View as follows
struct ContentView: View {
  var scene: SKScene {
    let scene = GameScene(size: UIScreen.main.bounds.size)
    scene.scaleMode = .fill
    return scene
  }

  var body: some View {
    SpriteView(scene: scene)
          .frame(width: scene.size.width, height: scene.size.height)
  }
}
We get the size of the screen and use that to create a scene that fills the screen.
The var scene section sets up the scene to the specified size. The scene.scaleMode = .fill ensures the scene will scale properly when resized.
THe var body section simply starts the scene at the specified size.
Adding startup code for the scene
When a scene is created it automatically calls the method didMove. Swift is an object-oriented language so we can override this with our own method as shown below.
class GameScene: SKScene {

  override func didMove(to view: SKView) {

  }

}
Any code placed in didMove will be called when GameScene is created. Think of this as an initialisation method.
Adding update code for the scene
You’ll want your game to update itself regularly. An SKScene has a built in method called update which is automatically, again we can override this as shown below.
class GameScene: SKScene {

  override func update(_ currentTime: TimeInterval) {

  }

}
Detecting Screen Touches
We’re working with touch devices so the main inpput type is through touching the screen. Again there are built in methods for this and we can override them as showne below.
class GameScene: SKScene {

  override func touchesBegan(_ touches: Set<UITouch>, with event: UIEvent?) {

  }

  override func touchesMoved(_ touches: Set<UITouch>, with event: UIEvent?) {

  }

  override func touchesEnded(_ touches: Set<UITouch>, with event: UIEvent?) {

  }
}
This is the basic setup you probably want to do every time you create a new project. Your GameScene should look like this.
#import SwingUI
#import SpriteKit

class GameScene: SKScene {

  override func didMove(to view: SKView) {
    // initialise method
  }

  override func update(_ currentTime: TimeInterval) {

  }

  override func touchesBegan(_ touches: Set<UITouch>, with event: UIEvent?) {

  }

  override func touchesMoved(_ touches: Set<UITouch>, with event: UIEvent?) {

  }

  override func touchesEnded(_ touches: Set<UITouch>, with event: UIEvent?) {

  }
}